Foil Reflective Insulation Installation Guide for Homes
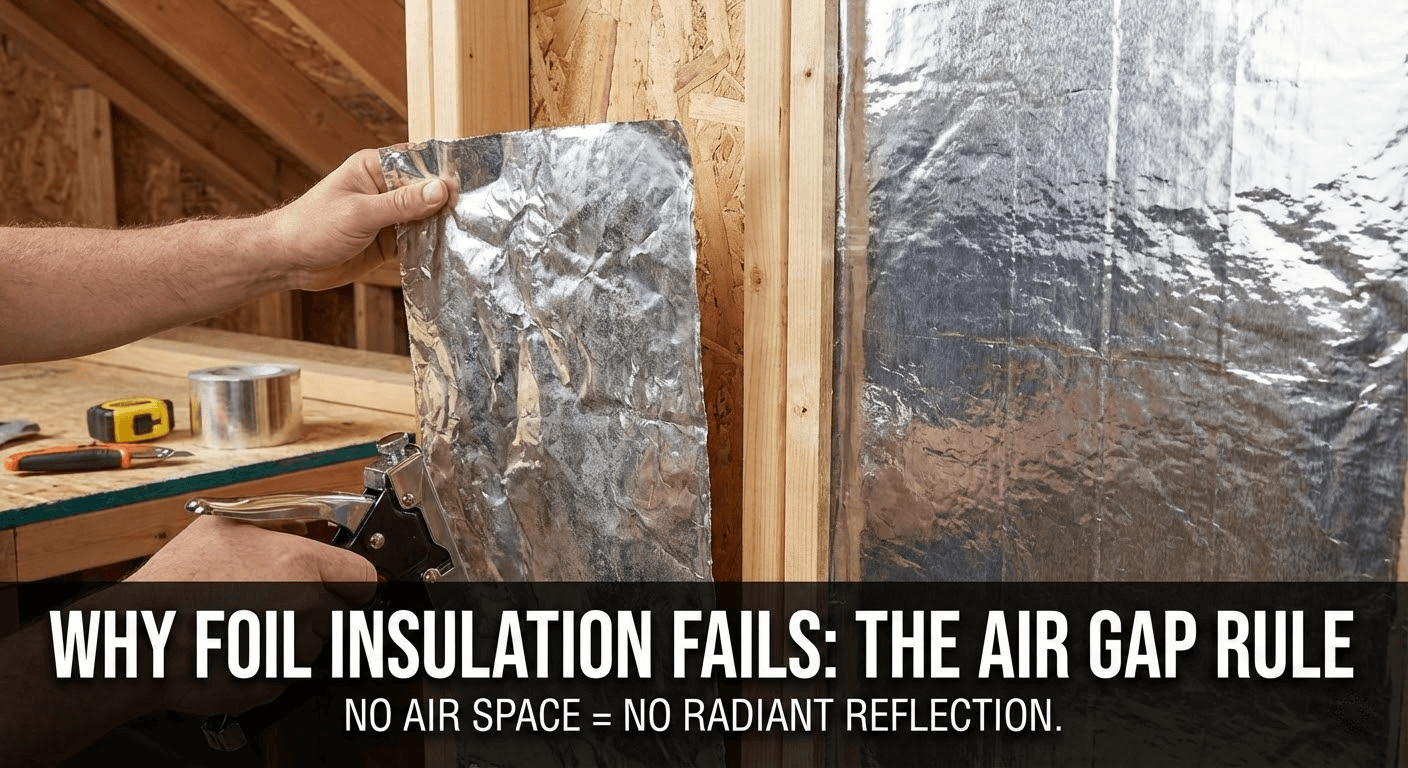
If you’ve ever installed foil reflective insulation and thought, “Why didn’t this do much?”, you’re not alone. The most common reason is simple: a reflective surface can’t control radiant heat if it’s pressed tight against another material—it needs to face an air space to work the way people expect.
Who this guide is for: contractors buying in bulk, facility teams, and DIYers doing garages, attics, or metal buildings.
How it’s built: practical jobsite steps + widely accepted building-science guidance (and you should still follow your product label and local code).
Why it matters: done right, you cut radiant heat transfer; done wrong, you mainly create shiny disappointment (and sometimes moisture trouble).
Assumptions (adjust as needed):
-
You’re installing into an attic, garage/workshop, or metal building (common radiant-heat trouble spots).
-
You can create or preserve an air space on at least one side of the reflective surface.
If you’re sourcing materials, remember the install “extras” matter: foil tape, fasteners, washers, spacers/furring strips, and protective supplies. Wellco Wholesale positions itself as a one-stop, factory-direct wholesaler for agricultural/gardening/landscaping and light building supplies—handy when you want to bundle accessories into one order for trade or retail needs.
What Foil Reflective Insulation Actually Does
Foil reflective insulation is best thought of as radiant control, not a substitute for thick “mass” insulation.
Radiant heat vs conductive heat (why the air gap matters)
Radiant barriers and reflective insulation systems reduce radiant heat gain, and they’re only effective when the reflective surface faces an air space.
That’s because low-emittance aluminum surfaces can reflect radiant energy rather than absorbing and re-radiating it; industry guidance commonly describes low-e surfaces in the ~0.03–0.05 range.
Quick rule that matches real installs:
-
Foil facing an air cavity = radiant benefit possible
-
Foil smashed against OSB/drywall/metal = radiant benefit largely lost
Where it performs best (typical applications)
You’ll usually see the best results where radiant heat is a clear problem and you can keep an air space:
-
Attic rooflines / underside of roof decking
-
Metal buildings / pole barns (comfort + condensation planning)
-
Garages/workshops (especially under hot roofs)
A helpful reality check: in attics that already have high levels of insulation, radiant barriers may provide little or no benefit beyond certain points (context matters).
Common misconceptions to clear up
-
Myth: “Foil reflective insulation has huge R-value by itself.”
Reality: any claimed R-value depends on installation conditions—especially air spaces. -
Myth: “Shiny side must always face a specific direction.”
Reality: the reflective face should look into the air space where radiant exchange happens.
Pre-Install Checklist
Choose the right product type for the job
-
Single-sided foil: one reflective face (aim it toward the target air space)
-
Double-sided foil: two reflective faces (useful in enclosed cavities)
-
Foil + bubble/foam core: easier handling; still needs air space for true radiant performance
Tools and materials you’ll likely need
-
Tape measure, marker, straightedge, sharp utility knife
-
Staple gun (wood framing) or screws + washers/caps (common for metal framing)
-
Furring strips/spacers (to maintain air space)
-
Foil tape + seam roller
Ordering tip from the field: plan 5–10% extra for overlaps, penetrations, and off-cuts (it’s cheaper than pausing a crew mid-install).
Safety and code considerations (don’t skip)
-
Maintain clearance around heat sources and follow product instructions.
-
Don’t cover junction boxes; keep electrical work accessible.
-
Plan moisture: reflective layers can change drying behavior—don’t trap water where it can’t escape.
Foil Reflective Insulation Installation Guide (Step-by-Step)
Step 1: Identify the heat-flow direction and the surface you’re treating
Pick the goal:
-
Attic roof deck: reduce radiant heat from hot roof surfaces into the attic
-
Metal building: reduce radiant gain and improve comfort near the interior surfaces
-
Garage/workshop: reduce overhead radiant load (a big deal when attics hit extreme temps in summer)
Step 2: Create or preserve the required air gap
This is the make-or-break step. DOE guidance is blunt: the reflective surface must face an air space.
Many manufacturers and industry guides commonly recommend a minimum ~3/4 inch air space for good performance, with larger gaps often working well too.
Ways to create it:
-
Install on rafters/purlins so the foil faces the cavity
-
Add furring strips/spacers to prevent direct contact
-
Use proven attic methods that preserve an air space (some guides allow controlled “sag” approaches)
Step 3: Measure, cut, and plan your layout
-
Work in sections you can control overhead
-
Plan overlaps at seams and around penetrations
-
Fewer seams usually means fewer weak points (and less taping fatigue)
Step 4: Fasten correctly (so it stays flat and performs)
-
Wood framing: staples work when placed consistently
-
Metal framing: screws + washers/caps tend to hold better long term
Installer reality note (experience): I’ve seen “it failed” jobs where the foil was perfectly shiny—because it was stapled tight to the roof deck and the soffit airflow got pinched. We re-mounted it to preserve a clean air space and reopened the vent path; the foil didn’t change—the physics did.
Step 5: Seal seams and edges the right way
-
Use foil tape designed for reflective surfaces
-
Roll seams for better adhesion (especially in dusty or cold conditions)
-
Patch tears immediately so airflow doesn’t turn them into flapping rips
Reminder: dust reduces reflective capability, so install in a way that minimizes dust buildup on the reflective face.
Step 6: Handle vents, moisture, and condensation hot spots
-
Attics: don’t block soffit/ridge vents—venting still matters.
-
Metal buildings: moisture management is non-negotiable (warm air + cold metal = condensation risk)
-
Avoid “sealing everything forever” unless you understand the drying path
Safety + Moisture Risk Checklist
-
Do: keep ventilation functional, seal purposeful seams, follow label clearances
-
Don’t: sandwich foil tightly between materials, block vents, or trap wet materials behind sealed layers
Step 7: Final inspection and performance checks
Look for:
-
Continuous air space where intended
-
Seams intact and sealed
-
No blocked vents
-
No unsafe contact with heat/electrical
When Foil Reflective Insulation Is NOT the Right Choice
-
You can’t create an air space anywhere the reflective face will “see”
-
Your attic already has very high insulation levels and your goal is major energy savings (you may see diminishing returns)
-
Moisture conditions are unknown and you’re likely to trap condensation without a plan
Real-World Example
Anonymized mini case study (illustrative)
A metal outbuilding used as a workshop: hot in summer, occasional winter condensation.
Fix: mounted foil reflective insulation with spacers to maintain an air cavity, taped seams, and preserved venting.
Result: “noticeably more workable” afternoon comfort and fewer condensation episodes—without claiming a guaranteed temperature drop (because weather, ventilation, and use patterns vary).
Pro tip from experience
Most “foil didn’t work” stories start with no air space. If you fix only one thing, fix that.
Conclusion
If you want foil reflective insulation to actually perform, build your install around:
-
Air space, 2) secure fastening, 3) moisture/venting discipline.
Use the final checklist before you close everything up—small fixes are cheapest right then. And if you’re buying for bulk jobs, having a one-stop supplier like Wellco Wholesale for related accessories (tapes, fasteners, protective supplies) can simplify procurement and keep crews moving.
Frequently Asked Questions
Do I always need an air gap?
If you want radiant performance, yes—the reflective face needs to face an air space to reduce radiant heat transfer. If your setup can’t accommodate an air gap, you may still gain minor air-sealing benefits, but don’t expect classic radiant-barrier behavior.
Which side should face the air space?
Aim the low-emittance reflective face toward the air cavity that “sees” the hot surface. The key is foil-to-air, not foil-to-solid contact.
Can I install it under metal roofing?
Often yes, but treat condensation as the main risk. Preserve an air space, seal seams carefully, and maintain ventilation so moisture doesn’t build up.
Will sealing seams create moisture problems?
It can if you create a trapped layer with no drying path. Seal seams where they support performance and air control, but don’t block venting or encapsulate wet materials.
Is it a replacement for fiberglass or spray foam?
Not usually. Reflective systems target radiant heat; bulk insulation targets conductive heat flow, and many good assemblies use both where appropriate.