How to Hang Acoustic Panels from Ceiling Without Damage
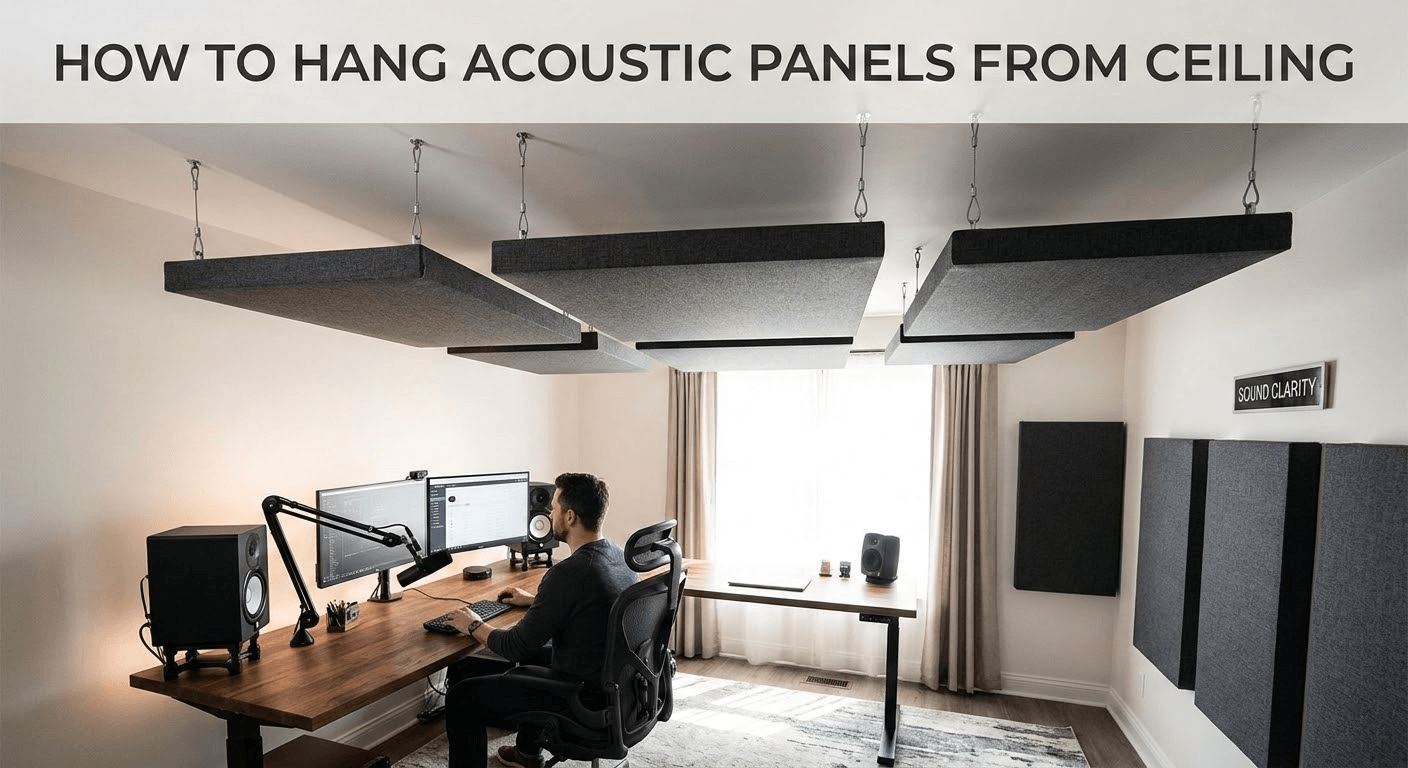
If your room sounds “splashy,” harsh, or tiring—especially with voices—ceiling-mounted panels can be the quickest way to cut the reflections you can’t solve with rugs, curtains, or furniture. A ceiling “cloud” over a desk, conference table, or listening position often improves clarity more than adding another wall panel because it intercepts strong early reflections from above.
This guide shows how to hang acoustic panels from ceiling safely and cleanly, with options for joists, concrete, drywall, and drop ceilings. It’s written for DIYers and for trade pros installing at scale—because the best acoustic plan still fails if the hardware choice is wrong.
Who / How / Why (Transparency)
-
Who wrote this: A practical installer-style guide based on common mounting methods and jobsite realities (layout, substrate, load rating mistakes).
-
How it was created: Step-by-step installation workflows + manufacturer technical guidance for anchors/toggles + acoustics best practices and terminology references.
-
Why it exists: To help you reduce echoes and improve speech clarity without creating ceiling hazards.
If you’re buying for multiple rooms, consistent kitting is half the battle. Wellco Wholesale positions itself as a professional, factory-direct wholesaler across agricultural, gardening, landscaping, and light building supplies—useful for trade customers who prefer bulk purchasing and streamlined sourcing of jobsite essentials.
How to hang acoustic panels from ceiling: plan before you drill
Measure the problem (so you don’t overbuy or under-treat)
Do a quick “diagnostic lap” before you mount anything:
-
Clap test: Stand where you talk or listen most. A metallic “ping” or flutter between surfaces often points to strong early reflections.
-
Phone app check (useful, not perfect): Treat it as a before/after comparison tool, not a lab measurement.
-
Map your activity zone: Desk, seating area, mic position, meeting table—ceiling treatment pays off most here.
Reverberation time targets vary by room size and use, but Rational Acoustics notes that shorter reverberation times are typically preferred for speech intelligibility, with example ranges often cited around ~0.4–0.5 seconds for smaller rooms and ~0.8–1.2 seconds for larger spaces.
Installer’s checklist (what’s usually missed)
-
Place the cloud where sound reflects between the talker and listener, not just “center of the ceiling.”
-
Confirm your ceiling type (joists vs trusses vs concrete vs grid) before buying hardware.
-
Plan cable routes so panels don’t end up crooked due to lighting or HVAC conflicts.
Quick experience story: On a small office install, I once laid out a cloud perfectly centered—then found the joists were offset just enough that two mounting points would land in drywall. Re-laying the layout by a few inches to hit structure made the install faster (no toggles) and eliminated a slight “panel sway” that was audible when doors closed. The sound change was immediate: less slap echo over the desk and clearer voice on calls.
Choose the right panel and mounting style
Panel materials you’ll commonly see:
-
Fabric-wrapped rigid fiberglass/mineral wool: strong broadband absorption, often heavier.
-
PET felt: typically lighter and clean-looking—popular for ceilings.
-
Foam: varies widely; often less broadband for the same thickness.
You’ll often see NRC used as a shorthand for how much sound a material absorbs (higher generally means more absorption in common frequency bands). One explainer notes 1-inch acoustic panels may be around NRC 0.85, while drywall is much lower. Many rigid fiberglass product listings cite 2-inch boards around NRC ~1.00.
Common mounting styles:
-
Direct-to-structure (clips/brackets into joists): strongest, lowest risk.
-
Cable suspension (wire rope + grippers): adjustable height, clean finish.
-
Drywall toggles: only for light loads, only when structure can’t be used.
-
Concrete anchors: for slabs/basements/commercial ceilings.
-
Drop-ceiling (T-grid): requires approved clips and often supplemental support above.
Safety considerations: load ratings, anchors, and what not to do
Working load vs ultimate load (why ceilings need conservative margins)
Anchor marketing can be misleading if you don’t know the terms:
-
Ultimate (failure) load: the max force before something breaks.
-
Working (allowable) load: a safer limit that accounts for a safety factor and real-world variation.
DEWALT’s anchor documentation explains that allowable load values can be derived using applied safety factors in published tables. That’s the mindset you want: ceilings deserve conservative margins because vibration, accidental bumps, and imperfect installation can add forces you didn’t plan for.
Find structure: joists, trusses, concrete, or grid—each needs different hardware
-
Joists/trusses: Use a stud finder, then confirm with a pilot hole or a strong magnet for fasteners.
-
Avoid surprises: Be cautious around ceiling fixtures—wiring and plumbing can run nearby.
-
Concrete: Use the correct drill/bit and anchor type; clean dust from holes.
-
Drop ceilings: T-grid isn’t automatically load-bearing. Treat heavy clouds as a “support-from-above” job.
Common failure modes (and how to prevent them)
-
Drywall anchors used when a joist was inches away
-
Too few hanging points (two-point hangs that swing)
-
Over-tightened toggles crushing drywall
-
Unbalanced cable angles causing panels to tilt
Step-by-step: how to hang acoustic panels from ceiling (5 common methods)
Weight & hardware quick guide (choose the method first)
Use this as a practical starting point (always check your panel’s actual weight and the anchor manufacturer’s rated capacity):
-
Light panels (often PET felt, thin foam): grid clips (if rated), light-duty suspension, or carefully selected toggles only if necessary
-
Medium to heavy panels (often fabric-wrapped fiberglass/mineral wool): joist mounting or cable suspension into structure
-
Concrete ceilings: concrete-rated anchors + eye bolts/brackets
-
Commercial spaces: confirm local code/fire requirements and ceiling system ratings
Method 1: Direct-mount to joists (fastest, most secure)
Best for: fabric-wrapped fiberglass/mineral wool, high-traffic rooms, permanent installs.
Tools/materials
-
Stud finder, tape, pencil, level
-
Drill/driver, appropriate wood screws
-
Panel brackets (Z-clips, corner brackets, or manufacturer hardware)
Steps
-
Mark the panel footprint on the ceiling (painter’s tape helps).
-
Find joists and mark centerlines.
-
Pre-drill for clean screw placement.
-
Attach ceiling-side brackets into joists.
-
Attach panel-side brackets and lift to engage.
-
Confirm it’s level and can’t slide free.
Helpful reference: Many rigid fiberglass products list strong absorption performance at 2" thickness (often around NRC ~1.00), making it worth installing securely instead of “making do” with weak anchors.
Method 2: Cable suspension (clean look + adjustable height)
Best for: studios, offices, clouds above desks/tables.
Tools/materials
-
Wire rope kit with grippers, ceiling anchors appropriate to your substrate
-
Corner eyelets/suspension brackets
-
Level
Steps
-
Lay out 4 ceiling points (2 points only for very small/light panels).
-
Install anchors into joists or appropriate substrate.
-
Attach wire rope + grippers.
-
Set height, then fine-level using grippers.
Performance tip: Adding an air gap behind a panel can improve performance in the low–mid range; Massform explains why spacing can meaningfully change results.
Method 3: Toggle anchors into drywall (only for light panels + strict limits)
Best for: lightweight panels where structure isn’t reachable.
Steps
-
Confirm panel weight and choose a heavy-duty toggle rated for the application.
-
Use four anchors to distribute load and reduce swing.
-
Install per manufacturer instructions; snug, don’t crush drywall.
TOGGLER’s SNAPTOGGLE literature claims higher performance compared to traditional wing toggles and emphasizes installation efficiency. Treat these claims as a reason to choose a better anchor—not a reason to hang heavy clouds from drywall.
Method 4: Concrete ceiling mounting (garages, basements, commercial)
Best for: exposed slabs and concrete ceilings.
Steps
-
Mark points and drill with a masonry bit.
-
Vacuum dust so anchors seat properly.
-
Install concrete-rated anchors and hang via eye bolts/brackets.
-
Use corrosion-resistant hardware if humidity is high.
Method 5: Drop-ceiling installs (T-grid clips + supplemental support)
Best for: panels designed specifically for grid systems and light loads.
Steps
-
Use approved T-grid clips designed for ceiling elements.
-
For heavier items, add independent support wires to structure above.
-
Ensure the panel can’t chatter against the grid when HVAC runs.
Layout that actually improves acoustics
Where to place ceiling panels for speech clarity and music
For speech (offices, classrooms, conferencing), early reflections are the enemy. ANSI discussions around classroom acoustics emphasize controlling reverberation to support intelligibility.
High-impact placements:
-
Over the conversation zone: meeting table, desk, seating cluster
-
Along reflection paths: between talker and listener
-
In long rooms: where flutter echo builds across parallel surfaces
How many panels do you need?
A simple approach that avoids wasted panels:
-
Start with a cloud over the primary zone (often 2–4 panels).
-
Test: clap + voice + quick app comparison.
-
Add panels to reflection paths, not in a perfectly even grid, until the room stops sounding “ringy.”
Anonymized example: In a 10'×12' podcast room with hard surfaces, a 4-panel cloud placed slightly forward of the mic position typically reduces slap echo noticeably, while extra wall panels can be reserved for the strongest side reflections.
Pro tips: faster installs, better results, fewer callbacks
Clean finishing details
-
Four-point support beats two-point for stability.
-
Hide cables intentionally; wire rope grippers make leveling repeatable.
-
Leave an air gap when you can—flush mounting is rarely the best performer.
-
For commercial work, verify fire ratings and local requirements before installing overhead elements.
Buying and staging supplies for bulk jobs
For multi-room installs, kit by room:
-
Bag hardware per panel (anchors/screws/brackets/wire rope)
-
Label by ceiling type (joist / concrete / grid)
-
Bring spares for “unknown ceiling surprises”
If you’re sourcing at volume, a broad-line supplier can simplify logistics. Wellco Wholesale’s one-stop positioning across jobsite categories can be useful when you need bulk purchasing for professional and trade installs while still accommodating smaller retail buys.
Conclusion
To get the best results—and avoid ceiling risks—treat this as a structure-and-layout project, not a décor project. Place panels where reflections actually travel, mount into joists whenever possible, and use suspension systems that stay level and stable. Start with a cloud over your primary zone, measure the change, then expand strategically.
If you want a practical next step: write down your room dimensions, ceiling type, and the main talk/listen area. Build a substrate-matched materials list before you order so the install goes smoothly.
Frequently Asked Questions
Can I hang acoustic panels from ceiling drywall only?
You can for very light panels using appropriate toggles, but it’s the least preferred method. For heavier panels or higher-traffic areas, mounting into joists (or suspending from structure) is safer and more stable.
Do I need an air gap between the panel and the ceiling?
An air gap is often beneficial, especially for improving low–mid frequency absorption. Cable-suspended clouds make it easy to create consistent spacing while keeping the panel level.
How do I find the best placement for a ceiling cloud?
Start over the main listening/talking zone (desk, meeting table, mic position). Then shift placement to match the reflection path between the sound source and listener rather than centering the cloud purely for aesthetics.
Are drop ceilings safe for hanging panels?
Only if the panel system and grid are rated for the load. For anything heavier than a lightweight, purpose-built grid panel, add independent support wires to the structure above.
What’s the most “professional-looking” mounting method?
Cable suspension with wire rope grippers usually wins for aesthetics because it’s adjustable, levelable, and easy to align across multiple panels—especially in offices and studios.