How to Fix Acoustic Panels to Wall for Better Sound
Getting acoustic panels onto a wall is easy. Getting them to stay secure, look straight, and improve the sound is where most people go wrong.
If you are searching for how to fix acoustic panels to wall, the best method depends on three things: the wall surface, the panel weight, and whether you want a temporary or permanent installation. A lightweight foam tile on smooth painted drywall can often go up with strips or adhesive. A dense fabric-wrapped panel for an office, studio, or meeting room usually needs clips, anchors, or screws for a safer result.
This guide breaks down the practical choices step by step, so you can avoid failed adhesive, crooked layouts, and wasted money. It is useful for homeowners, office managers, studio users, and trade buyers handling larger projects. For bigger jobs, sourcing matching accessories and replacement stock matters too. That is where a supplier such as Wellco Wholesale can fit naturally into the process, especially for professional buyers looking for factory-direct access to building-adjacent and project supply categories.
Choose the Right Fixing Method for Your Wall
The wall tells you a lot about what will work.
Drywall and smooth painted plaster are usually the easiest surfaces for adhesive-based mounting, as long as the paint is sound and the wall is clean. Brick, concrete, and textured surfaces are less forgiving. Wood walls can be straightforward if you are willing to screw directly into them. Glass or glossy finishes usually call for extra care and lighter solutions.
Understand your wall surface first
Check for:
-
Loose paint
-
Dust or grease
-
Cracks or uneven patches
-
Texture that prevents full contact
-
Hidden wiring or pipes
A common installation failure happens on painted drywall that looks fine but has a chalky surface. One practical example: a set of lightweight panels may feel firmly attached on day one, then start peeling at the corners after a weekend because the wall was dusty and the adhesive never bonded properly. Cleaning, drying, and testing one panel first usually solves that problem before the full install begins.
Match the fixing method to the panel type
Not every acoustic panel is the same. Decorative foam tiles are often light and easy to mount, but they do not behave like heavier commercial acoustic panels with rigid cores, wood frames, or fabric wraps. Owens Corning notes that rigid fiberglass boards are commonly used in acoustical wall panels, which helps explain why higher-performance panels often need more secure mounting than simple foam tiles.
A practical rule:
-
Lightweight foam panels: mounting strips, spray adhesive, or double-sided tape
-
Medium-weight fabric panels: strong construction adhesive, impaling clips, or Z-clips
-
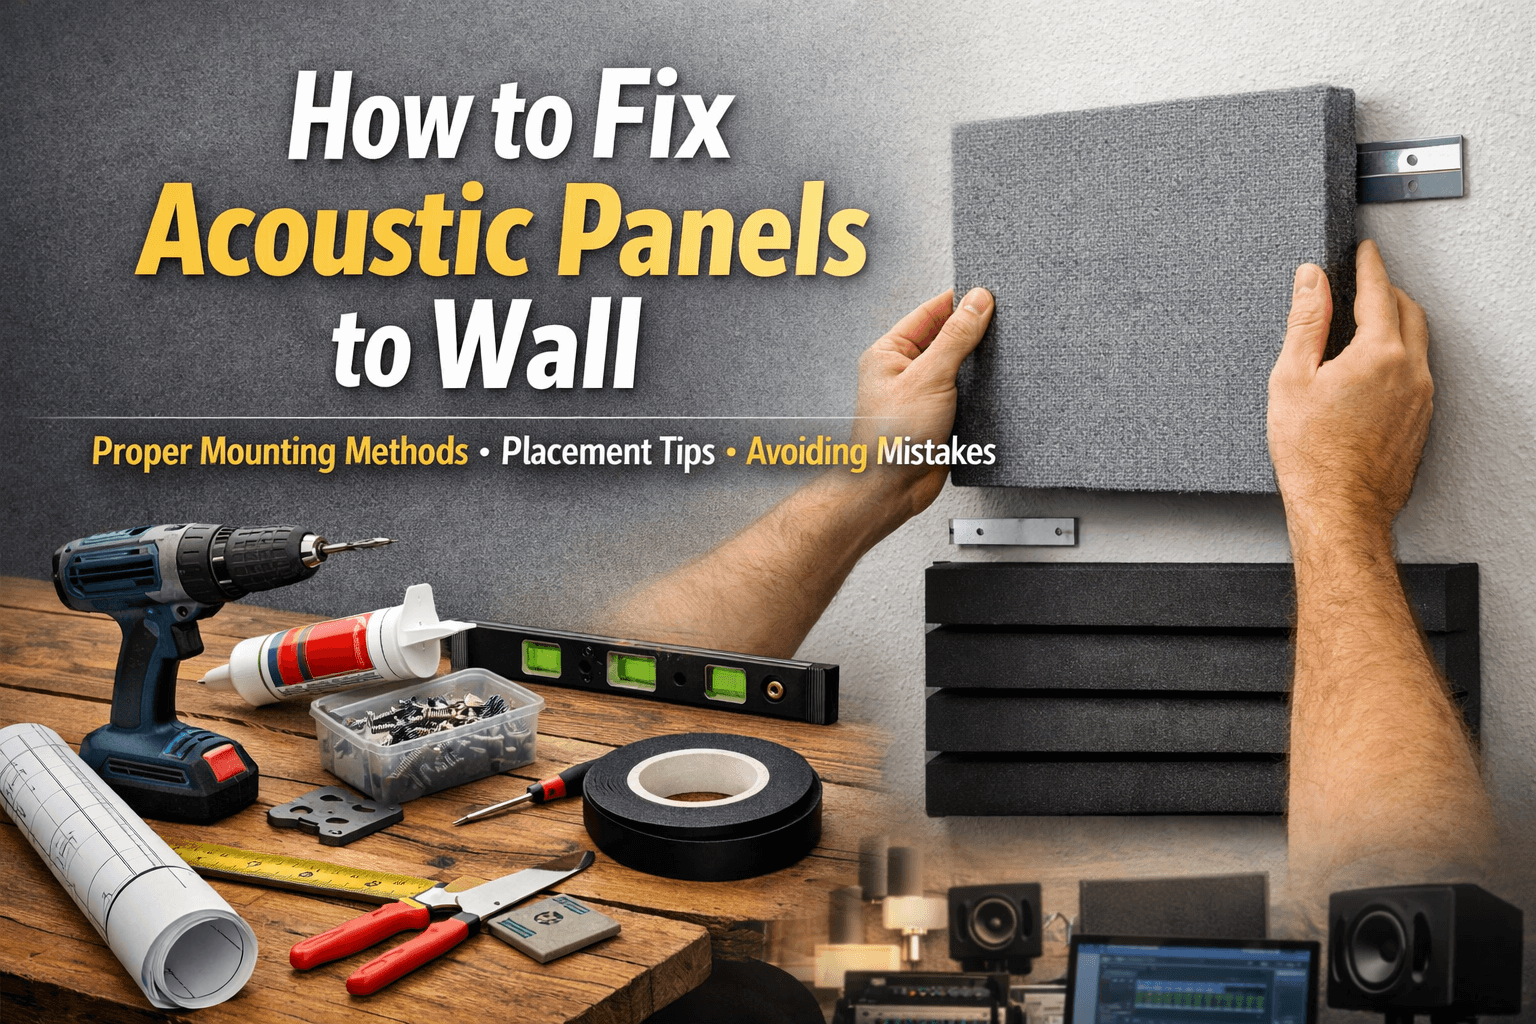
Heavy rigid or framed panels: screws, anchors, rail systems, or stud-mounted hardware
If the panel has a rigid backing or feels substantial in the hand, treat it as a finish component, not a sticker.
Tools and Materials You May Need
A clean install usually calls for:
-
Tape measure
-
Level or laser level
-
Pencil
-
Stud finder
-
Drill and bits
-
Screwdriver
-
Wall anchors
-
Construction adhesive or mounting strips
-
Microfiber cloth or cleaner
-
Ladder and safety glasses
It also helps to keep the manufacturer’s installation sheet beside you. Weight ratings and surface recommendations vary, and trusting the product instructions beats guessing every time.
Common fixing options
The most common ways to fix acoustic panels to a wall are:
-
Adhesive strips or tape for light panels and low-damage installs
-
Construction adhesive for stronger bonding on suitable surfaces
-
Impaling clips for panels designed to sit on hardware
-
Z-clips or brackets for removable but secure mounting
-
Screws and anchors for long-term support on drywall or masonry
For trade buyers and installers handling multiple rooms, consistent hardware matters as much as panel quality. Wellco Wholesale’s wholesale model can be relevant here because larger projects often need coordinated purchasing, not just panels alone.
How to Fix Acoustic Panels to Wall Step by Step
Step 1: Plan the panel layout
Start by marking the area before you attach anything. Find the centerline of the wall or the main listening position in the room. Dry-fit the layout on the floor first, then transfer the arrangement to the wall with light pencil marks.
This matters for both appearance and sound. GIK Acoustics recommends treating early reflection points because reflections from nearby surfaces can reduce clarity and stereo imaging.
What to check before mounting
-
Are the panels evenly spaced?
-
Will they clear outlets, switches, or trim?
-
Are you treating the parts of the room that actually reflect sound?
A few well-placed panels usually outperform a larger number installed randomly.
Step 2: Prepare the wall surface
This is the stage people rush, and it often costs them later.
-
Wipe away dust and grease
-
Remove loose paint
-
Let the wall dry fully
-
Patch major surface defects
-
Test one panel or one fixing point first
From practical installation experience, wall prep is often the difference between a panel that holds for years and one that starts curling within a week.
Step 3: Install lightweight panels with adhesive
For lightweight foam or decorative panels:
-
Mark the panel position
-
Apply strips or adhesive as directed
-
Press evenly across the surface
-
Hold for the required time
-
Leave it undisturbed for full cure
Adhesive mounting works best when the wall is smooth, the panel is light, and the installation is not carrying much load.
When adhesive alone is not enough
Do not rely on adhesive alone when:
-
The panel is heavy
-
The wall is rough or textured
-
The room is humid
-
The panel sits above head height
-
The manufacturer recommends mechanical fixing
That single rule improves both safety and trust in the result.
Step 4: Install heavier panels with mechanical fasteners
Heavier acoustic panels should be mounted with clips, anchors, rails, or screws. This is usually the better option for studios, offices, meeting rooms, and commercial spaces.
Basic sequence:
-
Find studs or mark anchor locations
-
Measure and level the fixing points
-
Install clips, rails, or anchors
-
Mount the panel
-
Recheck level and tighten
Mechanical fixing is more forgiving over time. It also makes it easier to remove or replace panels later without tearing the panel backing.
Step 5: Check alignment and acoustic results
Once everything is mounted, step back and inspect the sight lines from different angles. Then test the room.
Try:
-
Clapping for slap echo
-
Speaking from normal positions in the room
-
Playing familiar audio through speakers
You are not listening for silence. You are listening for cleaner speech, less ringing, and more controlled reflections.
Best Placement Tips for Better Sound Performance
Placement is where acoustic treatment becomes useful instead of decorative.
Where panels usually have the most impact
Focus first on:
-
Side-wall first reflection points
-
The wall behind speakers
-
The wall behind a desk or workstation
-
Hard facing walls that create echo
-
Meeting rooms with too much reverberation
GIK Acoustics highlights first reflection points as a priority area because they directly affect clarity and imaging.
How many panels do you really need?
There is no universal number, but strategic coverage beats random coverage. Small rooms often improve noticeably with a modest number of correctly placed panels rather than full-wall coverage.
For workplaces, this is not only about comfort. CDC and NIOSH say engineering controls that reduce noise at the source or in the environment are an important part of preventing harmful noise exposure.
Common Mistakes to Avoid
Using the wrong adhesive or hardware
Some adhesives are too weak, some cure poorly on painted surfaces, and some are unsuitable for the panel backing. Always match the product to both the wall and the panel weight.
Confusing foam tiles with full acoustic treatment
Foam can help with flutter echo in some spaces, but it is not the same as a denser, higher-performance panel. Buyers often assume all “acoustic” products perform similarly, and that leads to disappointment.
Skipping a test fit
Dry-fitting the pattern first helps catch crooked spacing, trim conflicts, and poor visual balance.
Ignoring the room layout
A badly placed panel can waste budget without addressing the real reflection problem.
Safety, Maintenance, and Removal
Use a stable ladder, work clear of electrical lines, and never assume a heavy panel is safe because it “feels stuck.” Always follow the panel maker’s mounting guidance and the weight limits of the hardware or adhesive.
For maintenance, use a vacuum with a soft brush attachment or light dusting on fabric-faced panels. If future removal is likely, clip systems and removable hardware often make more sense than permanent adhesive. That is especially helpful in rentals, temporary fit-outs, and changing commercial spaces.
Conclusion
The best answer to how to fix acoustic panels to wall is the method that matches your wall, panel weight, and room goal. Lightweight panels can work well with adhesive on clean, smooth surfaces. Heavier or long-term installations are usually better with clips, anchors, or screws.
Start with a layout plan, prepare the wall properly, and choose a fixing method with a safety margin. That gives you cleaner lines, fewer failures, and better sound. If you are buying for a larger project, think beyond the panels and source the installation accessories, replacement stock, and related supplies with the same care.
Frequently Asked Questions
Can I use double-sided tape for acoustic panels?
Yes, but only for lightweight panels on smooth, clean surfaces. For heavier panels or long-term installs, clips, anchors, or screws are usually the safer choice.
Will adhesive damage my wall?
It can, especially on weak paint or drywall paper. If low damage matters, use removable strips where the panel weight allows or choose a mechanical fixing system designed for easier removal.
Where should I place acoustic panels first?
Start with the main reflection points, such as side walls near speakers, the wall behind a desk, or large hard surfaces that create echo. Strategic placement usually gives better results than spreading panels evenly without a plan.
Are foam panels enough for a professional space?
Sometimes for minor echo control, but not always for stronger acoustic treatment goals. Offices, studios, and meeting rooms often benefit more from denser fabric-wrapped or rigid-core panels.
What should bulk buyers check before ordering?
Look for consistent panel dimensions, mounting compatibility, material specs, and reliable replacement availability. For larger projects, it also helps to source related accessories from one supplier to simplify procurement.