Which Way Does Reflective Insulation Go? A Step-by-Step Guide
Reflective insulation is an innovative solution designed to enhance the energy efficiency of homes and buildings. By reflecting heat away or back into a space, it reduces energy transfer and maintains a comfortable indoor temperature. However, to maximize its effectiveness, installing it in the correct orientation is critical. This guide will help you understand which way reflective insulation should face and how to install it step-by-step.
What Is Reflective Insulation and How Does It Work?
Understanding Reflective Properties
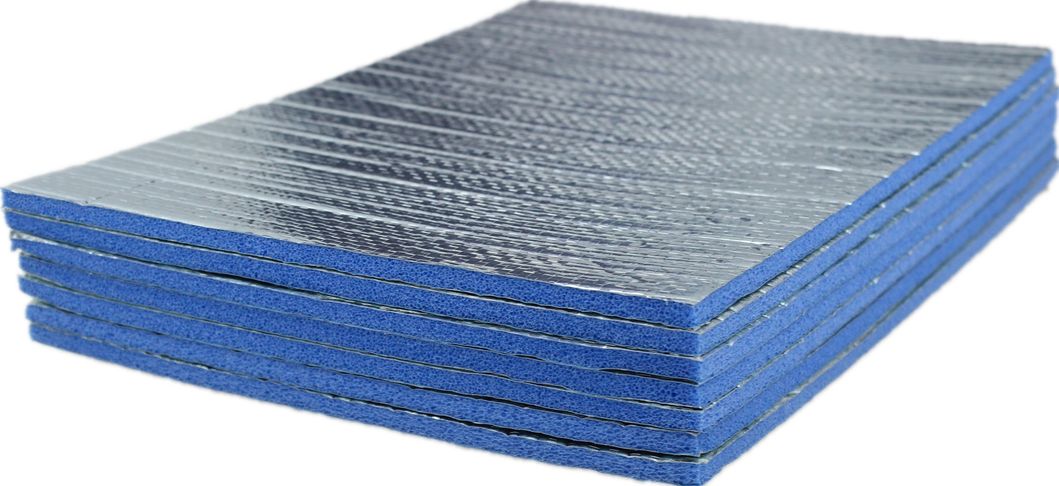
Reflective insulation consists of layers of aluminum foil bonded to other materials like cardboard or polyethylene. Its shiny surface is designed to reflect radiant heat rather than absorb it, which makes it highly effective in controlling temperature changes.
Key Benefits of Reflective Insulation
- Improved Energy Efficiency: Reflective insulation significantly reduces heat transfer, keeping indoor temperatures stable.
- Reduced Energy Costs: Lower heating and cooling demands result in savings on utility bills.
- Versatile Applications: It can be used in various parts of a building, such as attics, walls, and crawl spaces.
Which Way Should Reflective Insulation Face?
Factors That Determine Orientation
The direction in which reflective insulation faces depends on several factors:
- Climate: In warmer regions, reflective insulation is typically installed with the shiny side facing outward to reflect heat from the sun. In colder areas, it often faces inward to retain heat.
- Placement: Whether it's used in the roof, walls, or underfloor areas also influences the proper orientation.
General Rules for Orientation
- Shiny Side Toward the Heat Source: This means the reflective surface should face outward in warm climates (e.g., the roof or attic) and inward in cold climates (e.g., walls or floors).
- Air Gap Requirement: To perform optimally, reflective insulation often needs a small air gap on at least one side.
Step-by-Step Guide to Installing Reflective Insulation
Tools and Materials Needed
- Reflective insulation rolls or sheets.
- Measuring tape.
- Utility knife or scissors.
- Adhesive tape, staples, or insulation fasteners.
- Safety gloves and goggles.
Preparation
- Measure the area where insulation will be installed.
- Clear the space of debris, dirt, or old insulation.
- Ensure the reflective surface is clean and free from scratches.
Installation Steps
- Position the Reflective Side Correctly:
- In attics, face the shiny side outward toward the roof.
- In walls or floors, align it according to the heat source (inward for heat retention, outward for heat reflection).
- Secure the Insulation:
- Staple or tape the insulation in place, ensuring a snug fit without compressing the material.
- Maintain Air Gaps:
- Leave a small air gap between the reflective surface and the nearest barrier for enhanced effectiveness.
- Inspect and Adjust:
- Check for gaps or misalignments and adjust as needed.
Common Mistakes to Avoid
- Incorrect Orientation: Always ensure the reflective side faces the heat source or follows regional guidelines.
- Overlapping or Compressing the Insulation: This can reduce its reflective properties.
- Ignoring Air Gaps: Reflective insulation relies on air spaces to work effectively.
Maintenance Tips for Reflective Insulation
- Regular Inspections: Check periodically for tears, dirt, or other damage that might reduce reflectivity.
- Cleaning the Reflective Surface: If the shiny surface becomes dusty or dull, clean it gently to restore efficiency.
Conclusion
Proper orientation is essential for reflective insulation to work as intended. By following this guide, you can ensure the shiny side is correctly positioned, maximizing energy efficiency and comfort in your space. Ready to tackle your insulation project? Share your experience or ask questions in the comments below!